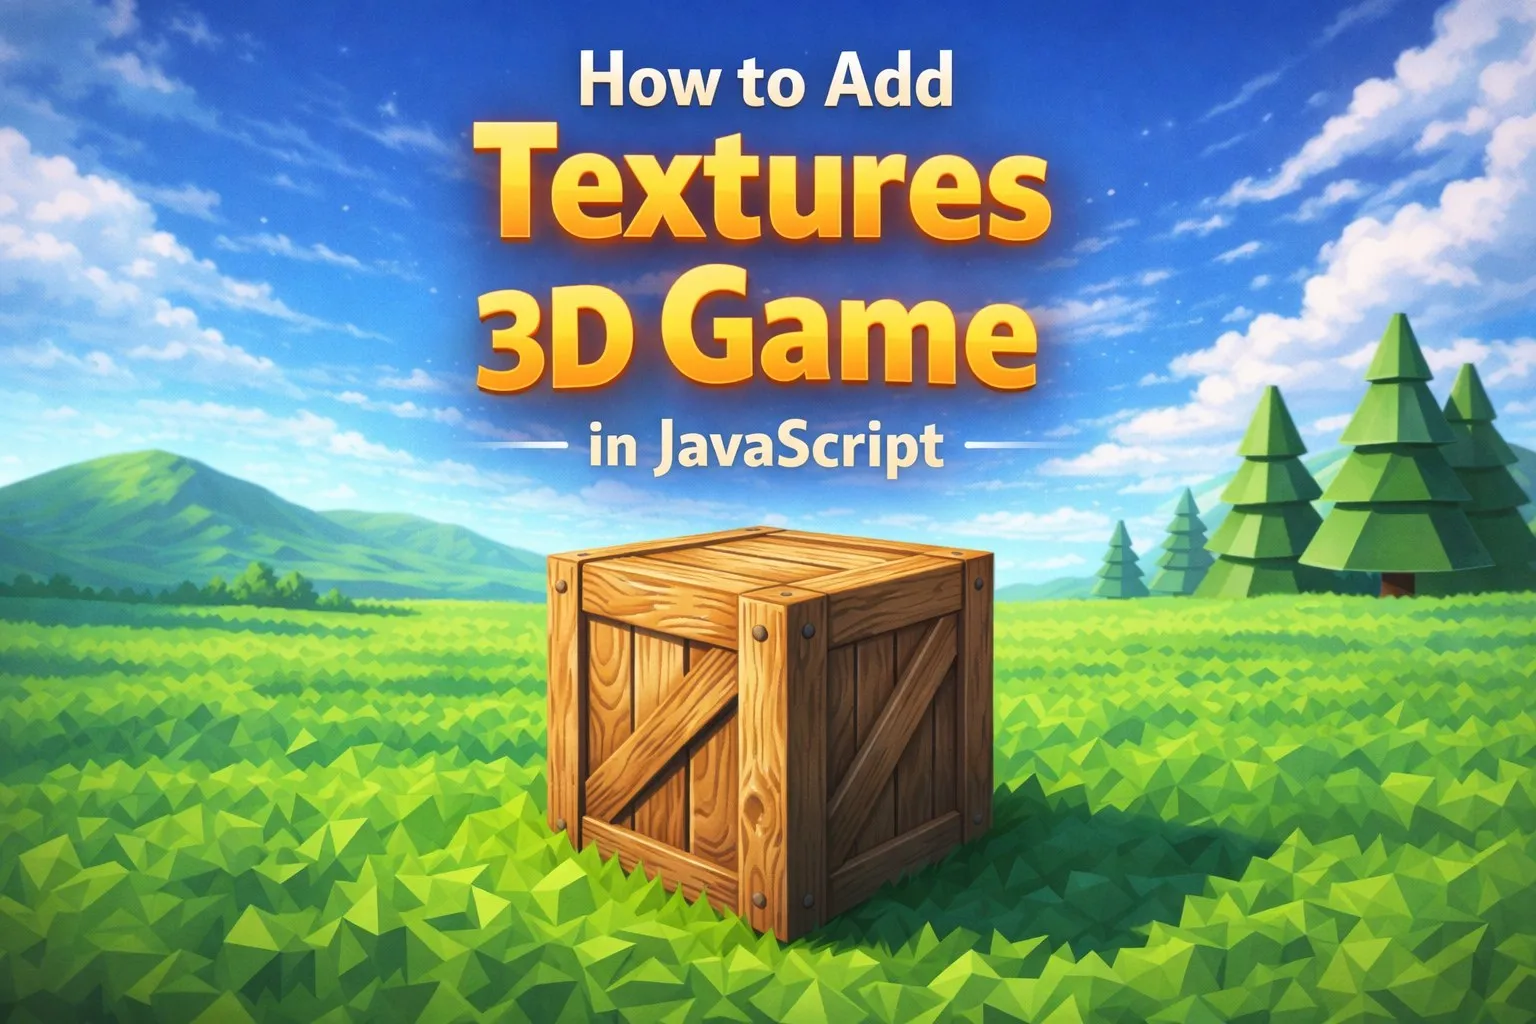
How to Add Textures to a 3D Game in JavaScript
September 18, 2023 • 5 min read
Adding textures to a 3D game in JavaScript - load grass, wood, and a sky HDRI with Three.js, handle tiling and sRGB, and cross the 'looks real' line.
In Part 1 , I set up the bones of a 3D scene in the browser: a green ground plane, a pink player box, two lights, keyboard controls, and physics with cannon-es. About 100 lines of JavaScript. Flat-shaded. Fine for teaching, but programmer art otherwise.
The moment you put real textures on a flat scene, the whole thing crosses a believability line. Here is how.
Why Textures Matter More Than Geometry
Before touching code, a quick mental model. Textures are how you cheat detail. A flat plane with a good grass texture looks better than ten thousand blades of individual grass geometry, and renders hundreds of times faster. Your GPU samples a 1024x1024 image happily. It does not love drawing 30,000 triangles for something it could fake with one.
Modeled detail is expensive. Textured detail is cheap. That trade-off runs the whole industry.
The Workflow, End to End
Three.js textures are boring in a good way:
- Load an image with
TextureLoader - Attach it to a material’s
mapproperty - Configure wrapping and repeating if the texture needs to tile
That’s the whole thing. Once you have done it once, you have done it a hundred times.
import * as THREE from 'three';

const loader = new THREE.TextureLoader();
const grass = loader.load('/textures/grass.jpg');
Grass on the Ground
Part 1’s ground plane is 50x50 units with a solid green. A texture is typically 1024x1024 pixels. Stretching it across 50 units of world space produces a soft, blurry mess. What you want is tiling - the texture repeats every couple of units.
grass.wrapS = THREE.RepeatWrapping;
grass.wrapT = THREE.RepeatWrapping;
grass.repeat.set(25, 25); // 25 repeats across the 50-unit plane

const groundMat = new THREE.MeshStandardMaterial({ map: grass });
wrapS and wrapT control what happens at UV coordinates past [0, 1]. RepeatWrapping makes them loop. The repeat.set(25, 25) says each tile covers a 2x2 patch.
Pick a number that matches texture detail and scene scale. Too few repeats, the texture looks stretched. Too many, the pattern becomes obviously grid-like.
The sRGB Gotcha
This is the one thing that trips up everyone. Color textures (albedo, diffuse, map) are stored in sRGB color space. If you do not tell Three.js, colors come out dull.
grass.colorSpace = THREE.SRGBColorSpace;Since Three.js r152 (June 2023) this is handled automatically for the default pipeline. But for anything older or custom, set it explicitly. If you ever wonder why your textures “look dead,” this is usually why.
Texturing the Box
Same pattern, no tiling needed. The default UVs of BoxGeometry already map the full texture to each face.
const wood = loader.load('/textures/wood.jpg');
wood.colorSpace = THREE.SRGBColorSpace;

const boxMat = new THREE.MeshStandardMaterial({ map: wood });
If your box looks strange (stretched on some faces, compressed on others), that’s BoxGeometry’s default UV layout. It is good enough for “same texture on every face.” For a cube with different textures per face, you’d use an array of six materials, a topic for another post.
A Real Sky Instead of a Flat Color
Part 1 uses a flat 0x87ceeb as scene.background. Passable. But a real sky with clouds and a horizon sells the scene in a way a flat color never does.
Three common approaches:
- Gradient sphere - a large inverted sphere with a horizon-to-zenith gradient. Cheap and stylized.
- Skybox (cubemap) - six images assembled into a cube around the scene. The classic engine approach.
- Equirectangular HDRI - one wide image in spherical projection. Modern, one line of setup, high quality.
I pick option 3 every time. Poly Haven has thousands of CC0 equirectangular skies. Download one as a JPG, drop it in:
const sky = loader.load('/textures/sky.jpg');
sky.mapping = THREE.EquirectangularReflectionMapping;
sky.colorSpace = THREE.SRGBColorSpace;

scene.background = sky;
scene.environment = sky; // optional: use the sky for ambient lighting
Three.js projects the image onto an implicit sphere around the camera. Look in any direction, you see sky.
scene.environment is the bonus step. With it set, PBR materials pick up subtle reflections and color from the sky, so objects look like they belong in the scene instead of floating over it.
Put It Together
Here is the complete delta from Part 1 - grass on the ground, wood on the box, an HDRI sky in the background, everything else unchanged.
Click play, move around. Notice how much more real it feels. Same geometry, same physics, same 10-line render loop. The only difference is three texture loads.
A Few Things That Tripped Me Up
Start with one texture at a time. Do not pile on grass, wood, sky, and normal maps on day one. Get grass working. Verify tiling. Verify color. Then add the box. Then the sky. Debugging “why is everything dark” is much easier when “everything” is one thing.
A 4K texture is not 4x the memory of a 2K one. It is closer to 16x once you account for mip levels. For a web game, 1K or 2K is usually the sweet spot. Users on five-year-old laptops will thank you.
CC0 is your friend. ambientCG and Poly Haven both have enormous CC0 libraries - public domain, no attribution, no license confusion. I used them for every texture in this post. Do not grab random textures off a Google image search unless you enjoy lawyer letters.
You do not need custom UVs yet. BoxGeometry, PlaneGeometry, SphereGeometry all ship with reasonable UVs. The only time UVs become your problem is when you load a model (GLTF), and by then the modeler has usually already handled them.
Where to Go From Here
Textures get you across the “looks real” line. Each next step deserves its own post:
- Normal maps - fake surface detail (bumps, grain, scratches) without adding geometry. Likely the next post in this series.
- GLTF models - replace the box with an actual 3D asset loaded from a file.
- Shadows - the directional light can cast real shadows with a config toggle and a framebuffer.
- Particles - swaying grass, rain, sparks.
The foundation from Part 1 plus the textures here gets you most of the visual difference between “learning Three.js” and “small playable 3D game.” The rest is additive.